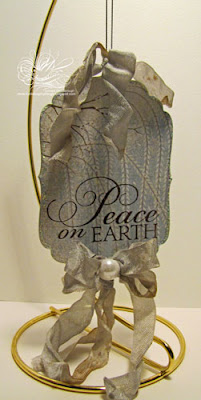
Good morning! I don't know about you but I am frantically getting ready for the big day! I still have a few more Christmas cards to create, ACK!!! I made five cards for a tutorial on the
Passionately Artistic Blog today. I used the same stamp (from
Our Daily Bread designs Christmas Verses set) on each card! And I challenged myself to use the same designer paper (freebie scraps from the Spellbinders booth at a stamp show) on each card too. Using the same stamp and similar colors and embellishments for several cards is a great time saver. It cuts the 'thinking' time down considerably!
Here is the first card:
This one is CAS (clean and simple). The card stock is Neenah and StampinUp! The sentiment is stamped in Stazon Black ink and cut out with Spellbinders Ovals and then embellished with a Cuttlebug vine. I added a pretty bow made with my Bow Easy and glued it down with Beacon Adhesive. The button and pearl were glued down to the bow. I added a Martha Stewart punched border at the bottom to finish the card.
Card two:
For this card, I used the Cuttlebug Holly Ribbons embossing folder on the designer paper. I stamped the sentiment in Stazon Black and cut it out with a Spellbinders circle. This is matted with Spellbinders Beaded Circle. I laced gold organdy ribbon through the holes and added another pretty Bow Easy bow. Next I added the gold beads all around and then I sprayed the whole card with Pearl Glimmer Mist! I used Neenah and StampinUp! cardstocks.
Card Three:
On this card, the designer paper is embossed with the same Cuttlebug folder and I added a pop of red to the mix. Neenah and StampinUp! card stocks again too. This time, I heat embossed the sentiment using Versamark ink and gold embossing powder. I used the Spellbinders Lotus pendant. Another pretty bow and red rhinestones complete this card.
Card Four:
Since I had the gold embossing powder out already, I used it again for this card. This time I used Neenah card stock and Martha Stewart gold paper. The sentiment circle is framed with the Spellbinders Lacey circle die cut. Finished the card withe a bow and gold brads. Another somewhat CAS card!
And lastly:
Yes, I can make regular A2 sized cards! LOL! This card is a little more involved. I did more embossing, this time on the sentiment, along the oval edge and on the Spellbinders Scalloped Edge Frame. The frame is popped up with foam tape. I added the bows and gold rhinestones to finish the card!
Thanks for letting me share these cards with you today! I hope I have given you some ideas for those last minute cards or inspired you for your Christmas cards next year! Merry Christmas and Happy New Year!


